If there is one rule that I have learned while working on projects, it is this: don’t be a cowboy coder! Take off those cowboy hats and boots because this is one of the most important lessons that you can learn. Let’s take a look at how you can use Git for your projects and some of the best practices that you can use to your advantage. Whatever you do, don’t follow the advice below: 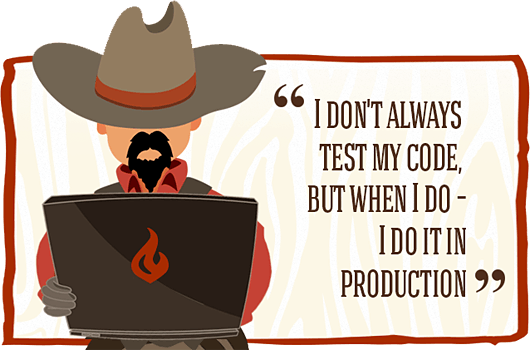 Image credit: Siteground (You can follow them on Twitter)
What is Git?
Git is a VCS or Version Control System. What is that? Well, a Version Control System allows you to have several copies or versions of your files so that you can keep track of your changes. Why would you want that? Let’s say that you changed a couple of files for a client. However, the next day, your client would like the old version of that same file. Well, guess what? The file is gone! You may have saved it on a failing hard drive, overwritten it, or it may have just disappeared. Still want to be a cowboy?
Ok, so how do I Install Git?
If you are on a Mac, then git is already pre-installed; on the other hand, if you are using a Windows machine, it’s a bit more complicated. There are two ways to install and run Git, you can either: Install a program that uses Git, or you can use the command line. For the purposes of this tutorial, I will just show you a handful of programs that you can use. First, you should create a Github or Bitbucket account. (preferably Github). Again, you can choose to use terminal / command line but if you are a beginner to Git, you should use a git client with a user interface. Let’s take a look at a couple of programs available:
Github Client
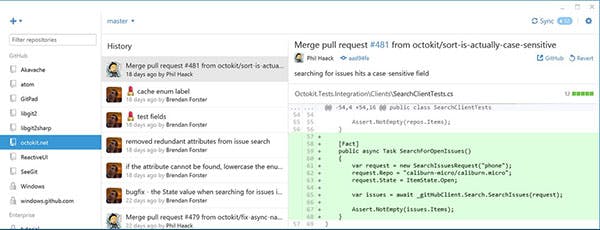 Author: Github Price: Free Github has it’s own client for Windows and Mac. Of course, you will need to create a Github account in order to use it.
SourceTree
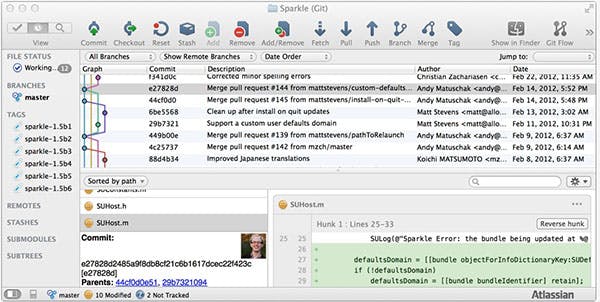 Author: Atlassian Price: Free My personal favorite, Sourcetree is a great and free Git client. It’s easy to use and you can upload to Git and Bitbucket repositories. Just to let you know, you will need to add a license in order to use Sourcetree. Don’t worry, it’s still free! You just need to take a couple of more steps.
Tower
 Author: fournova Software GmbH Price: $59.99 Tower is an extremely powerful Git Client for Macintosh computers. The only downside is that it comes with a somewhat hefty price tag,
Gitbox
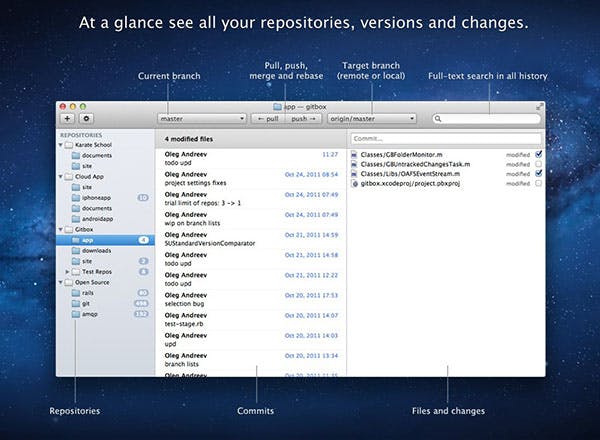 Author: Oleg Andreev Price: $15 Did those other Git clients scare you off with all of those menu options? Want something simple? Then Gitbox, for Mac, is for you!
What now?
The next step is to create a repository and upload your files to a Github or BitBucket repository. A repository is a location where all of your files and its versions are stored and recorded. Think of it like a box and each box has a label on it. Basically, the process looks like this: commit -> push -> repository. I won’t be able to go too much in detail about the process, but let’s go over some of the best practices. Give me a chance to clear this up even further.
Commit with a Message
One of the best things that you can do is make a short but noteworthy (and understandable) message when you commit or push to your repository. What am I talking about? Let’s define some of the terms I just used: Commit makes a record of your changes. (Local computer) Push updates remote repositories. (Github, BitBucket) In other words, commit saves your files in a local place while push pushes your files up to a remote server. You can learn more by reading this Stack Overflow thread. You should always create a meaningful commit message so you know how your new version differs from older ones. Bad commit message:
git commit -m ''
Adding no description is a big no-no. Here’s an example of a good commit message. Good commit message:
git commit -m 'added a banner image, moved images to img folder'
How do I use this with WordPress?
You may be thinking: what does this have to do with WordPress? How is this useful and how do I use it? It depends on what you are developing, because there are two different repositories that you should be aware of. If you want to use Do not commit or push your wp-config.php file! This is very important to remember because the wp-config file has your login and other information contained inside it. Be careful! If you are developing a theme, then the wp-content/themes/themename directory: 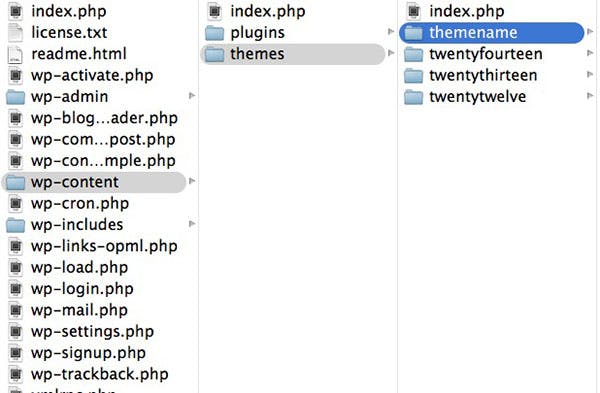 Otheriwise, if you are developing a plugin then wp-content/plugins/pluginname will work:
 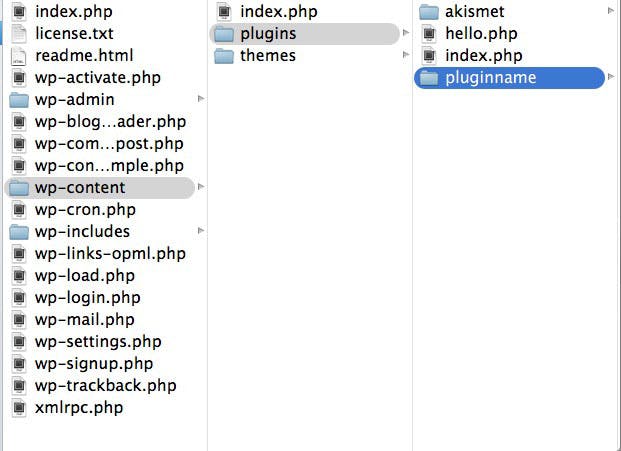 After commit and pushing to the Github or Bitbucket newly created Github or Bitbucket repository, you have a git-ready repository. Any significant, or even small changes, should be commited with a message and pushed to the proper repository.
Anything else?
If you would like to learn more, you should read Commit Often, Perfect Later, Publish Once: Git Best Practices. Still want to be a cowboy coder? That’s fine, just be aware of any snakes that might end up in your boots. If you have any questions or concerns, or anything else, please leave a comment below. Thanks for reading!

